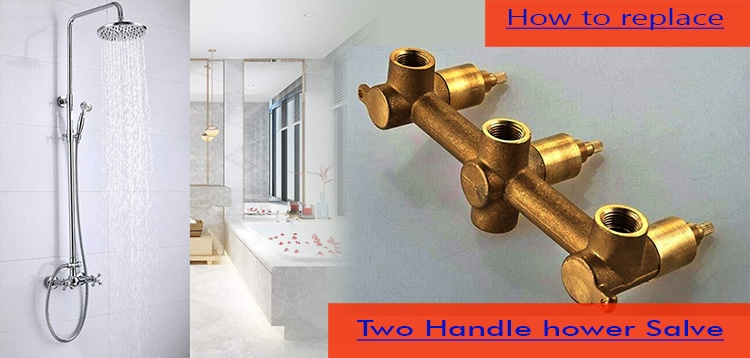
In the market, there are a variety of different types of shower valves, and they usually come in varied sizes and faucet types.
Despite the two handle shower valve looking outdated in the current world, most homeowners still have them in their washrooms. Much the same as most shower valves, this sort can likewise have spilled. Immediately you notice leakages, take a step, and fix it either by yourself or by seeking a plumber’s help.
In this post, we will figure out how to replace a two handle shower valve.
Important Tools You Need
The first and most important tool you need when replacing your old two handle faucet is a cover plate. Even though when purchasing one, make sure you go for one that is scald-proof. Always remember that though not impossible, replacing a two handle shower valve can be difficult on most occasions.
The equipment below is a must-have when doing your two handle shower valve replacement.
- Conversion plate
- Slip-joint pliers
- Pipe fittings
- Jigsaw
- New shower valve
- 4-in-1 screwdriver
- Soldering torch
Step by step: How to Replace a Two Handle Shower Valve
Step 1. Shut off Water Supply
For almost all plumbing tasks, turning off the water supply is the first thing to do. So, make sure the water supply to the bathroom is cut off. Then, open the tap to get pressure out of the pipes.
Step 2. Remove Handles and Stems
Carefully take out the handle cover by using the right tools. You can use an adjustable wrench, screwdriver, or an Allen key, depending on the kind of valve you have.
Make sure that all your tools and equipment are all put in one safe box. In case any misses after you have dismantled everything, the whole process can turn out to be a nightmare.
Once the handle cover is out, begin by removing the stems from all sides carefully. The right tools for this task are a wrench, screwdriver, or even an adjustable wrench.
The stems have a shape similar to that of a screw. This is to help you screw them out. Most of the two handle showers stems have sleeves at the handles. That means you first need to take out the sleeves to access the stem. Remove the screw and take out the stem if it is a plastic stem. Put them carefully because you will need them during replacement.
Step 3: Take out The Faulty Valve
After you are done removing the valve and its components, now the type of bathroom design will dictate what next. The job will be easier if you are in a position of getting around the wall.
But if you can’t, make an opening or hole that will enable you to move as you make the replacement.
To take out the faulty or old valve, with a lot of care, disconnect it from both hot and cold water piping systems. If there is a pipe supplying water to the showerhead, use an adjustable wrench to separate it from the shower.
Step 4: Replace the Faulty Valve and Shower Faucet Parts
To the same position as the old valve, get and install the new valve. Screw the new valve into the pipes using the fittings and tools. Make sure it is the same as the old one.
Wrap the adapters and couplings with it using a Teflon tape. This is an additional security to prevent leaks in the future. Ensure the left vent connects to the left water line and the right vent connects to the left water line.
After everything is in order, now it is time to attach the valve in the same spot as the old one or a faulty one. Connect firmly with your new valve to the position where it is supposed to be.
Having done this, now place the two handle shower valve. This is done by assembling back all handles, stems, and any other part.
Step 5: Switch on the water supply
Switch on the water supply and try out your new valve. Turn all the two handles to let water out. If you did as required, you won’t experience any leakage.
Wrap Up
Replacing your old two handle shower need not be a stressful task for you to carry out. After reading this guide together with the right tools, you should be in a position of replacing your two handle shower valve by yourself.
You can work admirably while changing your old shower valve and go through the above procedure to substitute two handle shower valves.
But, in case you think that it’s not easy, look for the assistance of an expert handyman near you. Remember to follow instructions from the manufacturer.
Some two handle shower valves may differ from one another. So, before you rush to purchasing a new one, know what you exactly need for your replacement.

