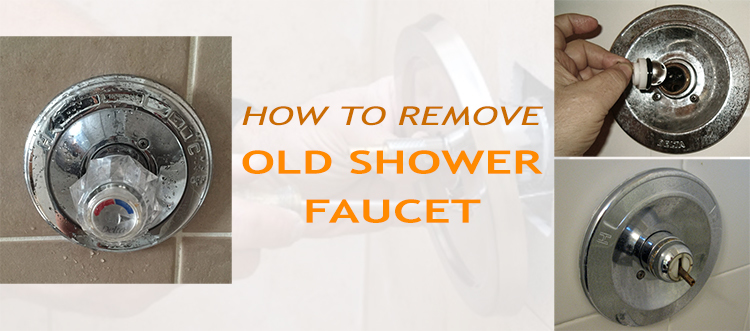
Whether you are a plumber or someone who has attempted plumbing tasks at home, you're likely aware of the wide variety of shower faucets available in the market. Shower faucets generally come in three styles:
- Single-handled: These faucets utilize a single control to manage both the temperature and water flow.
- Two-handled: This style features separate controls for cold and hot water, requiring you to adjust both handles to achieve the desired temperature.
- Three-handled: These faucets are designed to regulate the flow of cold water, hot water, and redirect water from the tub faucet to the showerhead.
If, for any reason, you need to remove your old shower faucet and gain some foundational knowledge on the process, rest assured that it is not a complicated procedure. By reading this article, you'll be equipped with the necessary information to smoothly complete the task.
How to Remove an Old Shower Faucet
Step By Step Guide
Things Required.
You need the following tools to remove your old shower faucet; flathead screwdriver, adjustable wrench, slip-jaw pliers, and the Philips screwdriver.
WARNING
Always make sure that the water supply is shut off before you attempt to remove the faucet.
- Begin by locating the main shut-off valve or water meter and turn off the water supply to the bathroom.
- To remove the old faucet, position a small-sized flathead screwdriver between the trim cap at the end of the handle and the faucet. Gently pry out the trim cap.
- Inside the faucet handle, you'll find a screw. Insert a screwdriver into the screw and firmly grasp the handle with one hand. Turn the screw counterclockwise to loosen and remove it. Take out the handle from the faucet mount.
- Slide a flathead screwdriver behind the edge of the escutcheons, which are protective covers on the wall behind the handle mounts. Carefully pull out the escutcheons from the wall.
- Locate the holding nut on one of the faucet posts inside the opening where the escutcheon was. Loosen the nut using an adjustable wrench and remove it. Use a pair of slip-jaw pliers to hold the tip of the handle mount and pull the spout post straight out from the wall pipes.
- Take the newly acquired shower faucet and insert it into the same position as the old one on the wall. Thread another holding nut onto the post and secure it tightly using an adjustable wrench.
- Place the new decorative crests over the spout posts, followed by the new handles. Secure the handles in place using the handle mounting screws and a screwdriver. Then, install the new trim covers over the handles.
- Turn on the water supply and test the newly installed shower faucet to ensure it is functioning correctly.
Conclusion
In case you find the whole process difficult, you should seek help from a seasoned plumber. Sometimes DIY mistakes can result in more severe issues such as flooding and leakages. Also, mishaps can diminish the energy productivity of your home, bringing about extra service bills.
So, be careful when performing these operations, especially if you are not sure of what you want to do. However, by following the procedure above, you can remove your old shower faucet without much stress.

