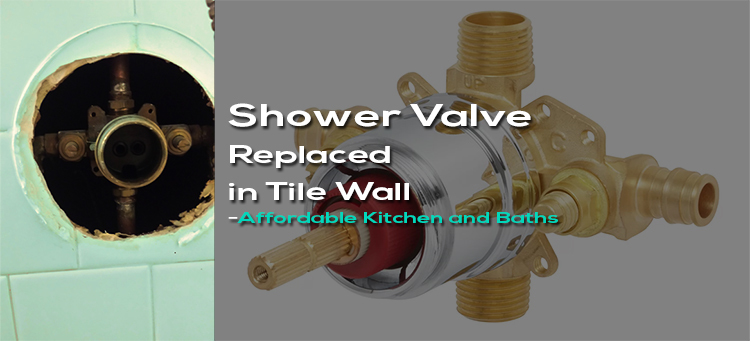
If there is damage to your shower valve beyond which you can repair it, it will need a replacement if leaks to be prevented. However, this can take time. As you fix it, make sure you don’t forget some details.
Expose the valve
Replacing Shower Valve Behind Wall
Cove the shower drain with a washcloth.
Block the drain completely by stretching the cloth over it. This is to prevent some parts, such as screws, from falling. Ensure to keep those screws in the same area so that you don’t lose them.
Take the shower handle off.
It is fixed on the wall using screws. Remove the handle by lifting it off its system. You need to keep away the screws and the handle until you need them to fix them back.
To slide the handle from its system, try to wiggle it when screws are already undone.
Unscrew the trim plate.
Secure it on the wall using two screws. Soak the handle in CLR or vinegar to clear grime and make it appear new. The escutcheon plate is the common name given to trim plates.
Remove any caulk around the trim plate. On the edges of the plate, there could be caulk layers. If this is the case, scrape it off using a knife.
Removing the valve
Replacing Shower Valve Behind Wall
Shut the water off
Find out the location of your valve where the water stops and rotate them clockwise. Leaking water is now prevented.
Stoppers are located either on the left or right side in the cartridge of the valve. They regulate the flow of hot and cold water. You need to shut both of them off. If you are unable to locate the stoppers, switch off the whole system of water supply to your house.
Cut an access hole to reach the valve better
There is an opening on the wall once the plate is undone. A standard wall opening should measure 30 by 30 centimeters. Adjustments can be made whether your wall is made of tiles, glass, or drywall. Hire an expert to train you on cutting the opening or research on the same.
Remove the valve clip with needle-nose pliers
There is a metal clip at the top of the valve and set aside in a flat place. This will ensure that you do not lose it. If you find it undamaged, reuse it.
Most valves have retainer nuts. If you want it removed, hold the valve as you undo the nut using a wrench.
Use pliers to pull the valve out of the wall. Hold the valve at its metal end and pull it out of the wall. Consider using needle-nose pliers. If you want the valve out easily, spray WD 40 to prevent damaging the valve as it is undone.
Installing a new valve
Insert your new valve. Hold the new valve’s cartridge at its end and put it back on its slot in the wall. Do some wiggling back and front until it sticks inside.
If it does not fit well into the hole, you must have purchased the wrong size. You ought to have checked the exact size of your old cartridge before buying a new one. If you notice corrosion in the valve, you might need to change the whole tub system.
Slide the metal clip into place. Hold the metal clip and insert it into the hole and ensure it fits well.
Turn on the water supply
You should loose the water stopper that you had earlier tightened to allow water to flow. If you closed the entire water system, open it to allow water flow.
Put the trim plate and handle back in place
At the access hole, set your plate and screw it in on both sides. Some valves have layers of calk securing it around.
Apply another layer. Fix the handle of the shower back. Check whether it is working perfectly. You may now remove that piece of cloth that is in the drain.
If you already enlarged the hole, ensure everything is back into the right position as long as the whole is not too large. If you made it too large by accident, fill it into the required size so that it is not larger than the plate.
We hope Replacing Shower Valve Behind Wall is easy now. wikiHow has showed the process with some illustrative image. you can also check it.

