
The constant sound of water droplets hitting the sink can be incredibly frustrating, especially when you’re trying to sleep. Not to mention, a persistent leak can lead to a noticeable increase in your water bill.
But here’s the good news: you can actually fix this issue yourself with just a few basic tools. There’s something satisfying about being able to save some extra money by taking matters into your own hands. Instead of immediately reaching out to a plumber, why not try these helpful tips to address common problems that cause your kitchen faucet to leak?
The sound of water drops hitting the sink can drive you nuts especiallywhen trying to sleep. Additionally, if the leak is bad enough,it can increasethe water bill significantly. However, the good news is you can fix it usingsimple tools. Of course, no one hates the idea of saving some extra bucks onthings they can do by themselves. Instead of calling a plumber, here are sometips that are going to repair some common issues that cause your kitchen faucetto leak.
My kitchen faucet is leaking- what should I do?
First of all find the type of leaking. There are some different types of leaking that may occur in your faucet.
Kitchen faucet leaking Types

A kitchen faucet gets a lot of use daily. Although they are constructed to offer you with a service, you can depend on for many years to come, over time the parts will wear out. Here are the common faucet leaking types and ways to repair them.
1. Kitchen faucet leaking at base
If you notice a leak coming from the base of your faucet, it’s likely due to worn-out O-rings located beneath the spout. Here’s a step-by-step solution to address this issue:
- Begin by turning off the water supply to your faucet.
- Close all drains to prevent any small parts from falling and getting lost.
- Using a flat screwdriver, remove the plastic cover on the spout. If you have a lever-type faucet, remove the handle first and then the spout.
- With a wrench, turn the remaining nuts on top of the spout counterclockwise.
- Firmly hold the spout and pull it up and out of the faucet body.
- Utilize needle-nose pliers to carefully remove the worn-out O-rings.
- Insert the replacement O-rings into their designated positions.
- Prior to reinstalling the spout, ensure that you apply lubricant to the outer surface of the O-rings.
- Reinstall the screws, handle, and plastic decorative covers, and open the previously closed drain.
- Finally, turn on the water supply and check for any signs of leakage.
Following these steps should help resolve the issue with the base leak in your faucet.
2. Kitchen faucet leaking from neck
Sometimes the leak can come from the neck of your kitchen faucet. Here is a simple guide to help you repair a kitchen faucet leaking from the neck.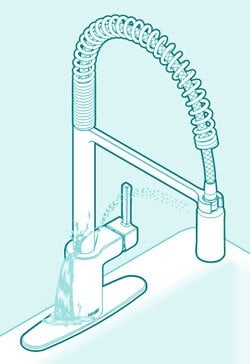
- Start by turning off the water supply.
- Open the cover that attaches the faucet base to the spout. This is usually the neck. You can do this by hand or use a pipe wrench. If you are using a pipe wrench, use duct tape to cover the teeth to avoid scratching the cover.
- Now it is time to replace the O-rings. To do this, use a flathead screwdriver to remove the old O-rings
- Use plumbing glue to coat the base of where you are going to insert the o-rings. Insert the o-rings. If they are worn out, replace them with new ones.
- Use high-temperature-resistant grease to cover the top of the O-rings.
- After replacing the O-rings, it is time to reassemble the faucet. You do this, you simply need to reattach the gooseneck back to the faucet by squeezing it down carefully.
- Check for any leaks.
3. Kitchen faucet leaking from spout
When you find your kitchen faucet leaking from the spout, you consider the high time the cartridges.
A Cartridge is a simple invention that has all the features that are necessary to let your water flow out and shuts easily. 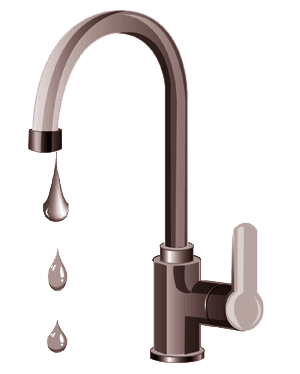
When we use the faucet for quite some time, the wear and tear can make the cartridge less effective, and you may start getting leaks at the end of the spout.
Here is the procedure of replacing the cartridge.
- Turn the water supply to the sink off
- Remove the cover plate or handle lever
- Remove the screw that attaches the cartridge to the faucet body
- Lift the cartridge to remove it from the body of the faucet
- Install a new cartridge and reassemble the faucet
- Check for any leaks