Want to unclog a kitchen faucet aerator? Well, it isn’t that hard. Even a beginner person can do that to clear the blockage in a sink faucet or replace the faucet aerator.
Before you attempt to unclog your kitchen faucet aerator for any reason, make sure other faucets are working correctly. Since sometimes the issue is in the whole water system.
If there isn’t anything like that, and if only one faucet is faulty and you want to unclog it, follow these below steps. You will need a few necessary tools too to save time and frustration, such as Electrical Tape and Pliers.
Step #1 – Turn Off the Water Supply
We know you have not given you water supply a lot of thought, but it can be turned off underneath the kitchen sink. You don’t have to cut off the main power supply line.
Usually, there are two turn-off valves under the sink.
You don’t require any kind of tool; just turn them clockwise to tightly close them. If you can’t find valves, identify the pipes running to your kitchen sink. If there isn’t any kind of valve, there will be some kind of lever or rounded knob attached to the pipe.
It can be used to turn off the water supply as well.
Step #2 – Unclog the Kitchen Faucet Aerator
Unscrew the faucet with a wrench or pliers.
It is better to wrap the jaws of it with a tape. Otherwise, it can leave a scratch on the faucet. Next, unscrew the body of the faucet from the aerator. It will be easy, however, there can be some additional internal components in it; it all depends on the model of the faucet.
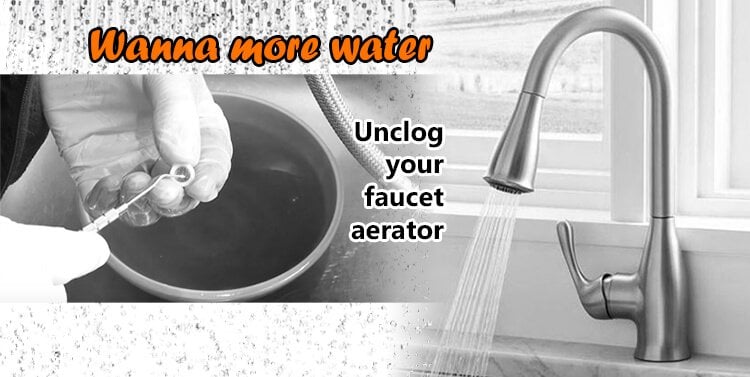
If the aerator is tightly fixed, you can loosen it first with the Pliers too. Typically, it consists of a metal ring, wire mesh screen, and plastic flow restrictors.
Keep a small cup or basket near you too in order to have all components at one place.
Step #3 – Clean the Faucet Aerator
Before assembling it, it is immensely important to clean it well to resolve the issue. In some cases, it becomes pertinent to replace it with the new one, particularly if it is damaged.
Alos check- how to replace a kitchen faucet
In reality, there are many ways to clean it, but we will reveal the simplest ones.
First, you can use vinegar. Put all the components in a small cup and let them sit in the vinegar for an hour. This will remove all the dust and grease. You can use an old toothbrush too for the removal of mineral deposits or any kind of dirt.
Second, if you don’t have vinegar or any other cleaning solution, hot and soapy water is also a great way to clean them. Keep the components in soapy water for 30 minutes and clean them with the toothbrush. Make sure the holes are cleaned quite well too.
Also check- How to clean a kitchen faucet
Step #4 – Assemble It Again
This is the final step, and it doesn’t require any special technical knowledge. It is same as unclogging the faucet aerator; you only reverse the process.
You can tighten the aerator with your hands. You can also use the tool like pliers to tighten it further. But, ensure it isn’t very tight either.
Now replace the screws and reassemble the faucet handle. Turn the water supply on from the bottom again. Your issue should be resolved now. Water should flow freely.
Also check out the list of Best Kitchen Faucet from here
Concluding Thoughts
So, that’s how you unclog a kitchen faucet aerator and reassemble it again.
If cleaning the aerator doesn’t work, it means you need a new faucet aerator which you can purchase from a local home improvement tool store.
Also check out the list of Best Bathroom Faucet from here